Tutorial
1
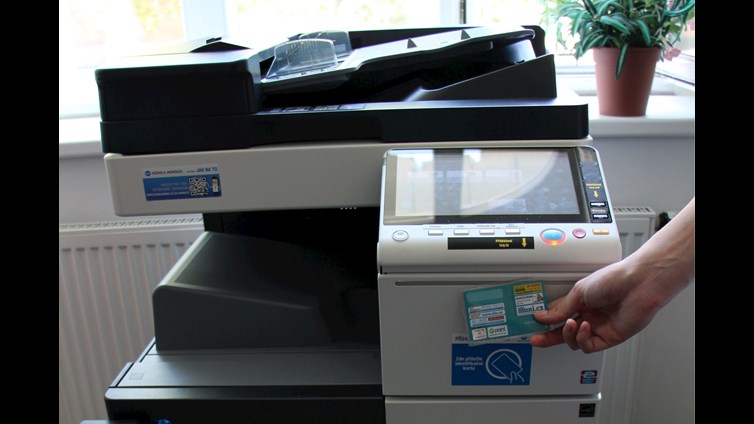
Log in to the copier with your ISIC.

1a
Did you forget your card? Never mind, you can generate a temporary PIN for login to the copier.
2
Change the language to English.

3
Pricelist.
Scanning is
FREE OF CHARGE
4
Choose the option SafeQ Scan.

5
Scan to my school e-mail – The scanned document is sent to your e-mail. Only files up to the 15 MB can be sent.
Scan to my profile – The scanned document is automatically saved into your disk K, folder Scan, accessible from the library's computers.

6
Go to Scan settings.

7
From the top menu, choose the parameter you want to set. It is recommended to select the format, resolution, or file type.

8
Automatically the colour scanning is set. However, if you are scanning only text, the Gray Scale might be better option. The size of the file will be smaller.

9
Scan size – choose an appropriate size by a format or set your own size Custom Size.

10
Resolution is set to 200×200 dpi, which is just enough for texts. If you need better scan quality, then set a higher resolution.

11
If you do not prefer PDF files, change it to a different file type.

12
Start scanning by pressing the blue button.

13
After you scan the last page, press the button Finish.

13
DO NOT FORGET TO TRANSMIT THE FILE to your e-mail or your profile by pressing the blue button.

Do you need help?
- we are here for you at the information and circulation desk
- e-mail: library@fss.muni.cz
- phone: +420549491984
© 2021 Central library FSS, MU